Thai Constellation Monstera Repotting: When and How
Repot a Thai Constellation Monstera only when its roots, mix, drainage, or stability justify the disturbance. Learn how to choose the next pot and aftercare.
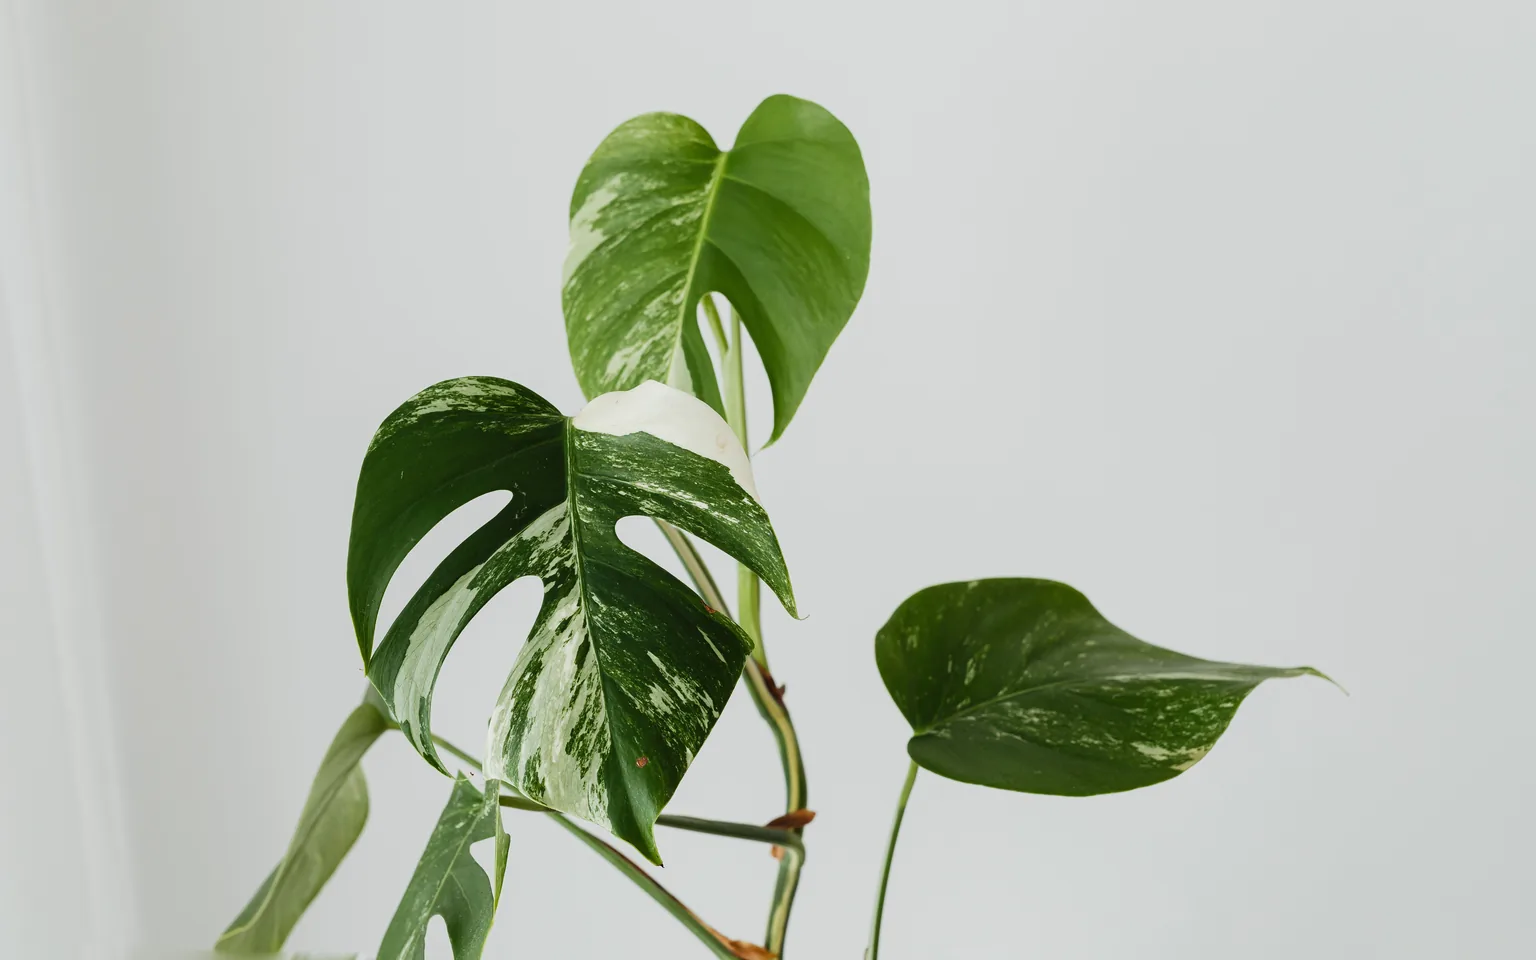
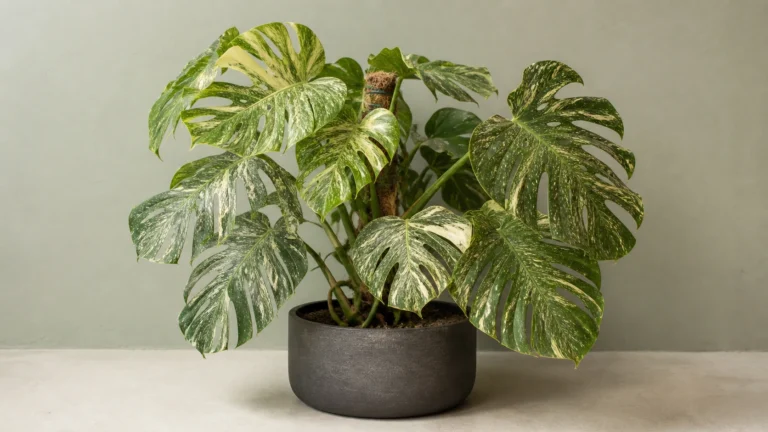
Thai Constellation Monstera repotting should be based on the roots and potting mix, not the price of the plant or the size of one new leaf. Repot when roots have filled the container, the mix has collapsed, drainage has changed, or the plant is no longer stable. If a newly purchased plant is growing well in a functional pot, waiting is usually safer than disturbing it immediately.
Posts such as "Huge Thai Repot" in r/Monstera show how often large leaves, root checks, and bigger pots become one decision. They are related, but a large leaf does not prove that the root ball needs more space.
Signs Thai Constellation Monstera Repotting Is Due
The strongest evidence comes from the root system and how the pot behaves during watering. Consider repotting when several of these signs occur:
- roots form a dense mat around the pot and leave little visible mix;
- thick roots emerge heavily from drainage holes or push at the surface;
- water runs through channels without wetting the root ball evenly;
- a healthy plant dries much faster than it did under similar conditions;
- the old mix has become hard, compressed, sour-smelling, or slow to drain;
- the plant is top-heavy and the container cannot support it safely; or
- root damage requires removal of degraded mix and inspection.
The RHS repotting guide recommends lifting a plant from its container to assess congestion and notes that circling roots or roots growing through drainage holes can interfere with drainage. A visual root check is better evidence than leaf size alone.
Do not pull the plant from its pot every week. If the nursery pot is flexible, gently squeeze the sides and slide the intact root ball out once. Support the stem and root ball rather than lifting by a petiole.
When Waiting Is the Better Choice
Delay repotting when the plant has just arrived, is opening a new leaf, is recovering from pests, or recently moved to a very different light and temperature. Those changes already affect water use and leaf posture. Adding root disturbance makes the cause of any decline harder to identify.
A plant can remain in a nursery pot while you place that pot inside a heavier cachepot for stability. Remove it for watering and drain it fully before returning it. This solves a tipping problem without automatically adding a large volume of wet mix.
Wait when roots are visible but not congested, the mix wets and drains evenly, and the plant maintains normal growth. One root through a drainage hole is not the same as a root ball with almost no mix remaining.
Choose a Pot Only Slightly Larger
For most plants in pots under 10 inches (25 cm), move up about 1 to 2 inches (2.5 to 5 cm) in diameter. The RHS advises that a new container should be no more than one-third larger than the current one. A modest increase adds root space without surrounding the plant with a large wet reservoir.
Use a pot with unobstructed drainage holes. Material changes drying speed: unglazed terracotta loses moisture faster than plastic or glazed ceramic. That difference should be part of your watering decision, especially if the plant is moving into lower indoor light.
The Houseplant Watering Calculator can compare the effect of pot size, material, light, and season. Use its result as a checking rhythm rather than a fixed command to water.
Build an Airy Mix Without Chasing a Recipe
A Thai Constellation needs a mix that holds usable moisture while retaining air around the roots. A practical starting blend combines a quality indoor potting mix or coco-based medium with coarse orchid bark and perlite or pumice. Coco chips or another durable coarse component can add structure.
The exact ratio should respond to the home. A dry, warm room and a grower who checks frequently may use a somewhat more moisture-retentive blend. A cool room, low winter light, or a heavy watering hand calls for more air space and faster drainage.
Avoid an extremely coarse mix that dries before fine roots can use the water. Also avoid packing fine peat tightly around the root ball. The houseplant soil guide explains how drainage, moisture retention, and aeration work together rather than acting as separate product labels.
How to Repot Step by Step
Watering one or two days before repotting can make a dry root ball easier to handle, but do not begin with saturated soil. Prepare the pot, mix, clean tools, support, and ties before removing the plant.
- Support the root ball and slide it from the old pot.
- Inspect the outside and bottom without stripping away healthy roots.
- Loosen only tightly circling roots and remove loose, degraded mix.
- Trim roots only when they are black, hollow, mushy, or clearly dead.
- Add enough mix to keep the stem at its previous depth.
- Fill around the root ball, working mix into gaps without compressing it hard.
- Install the support while you can position it without forcing it through major roots.
- Water evenly and let excess water drain.
Do not bury the petioles or raise the mix over the stem's growth point. Secure the main stem loosely to a pole, plank, or trellis, leaving petioles free to orient toward light.
Soil to Semi-Hydro Is a Separate Conversion
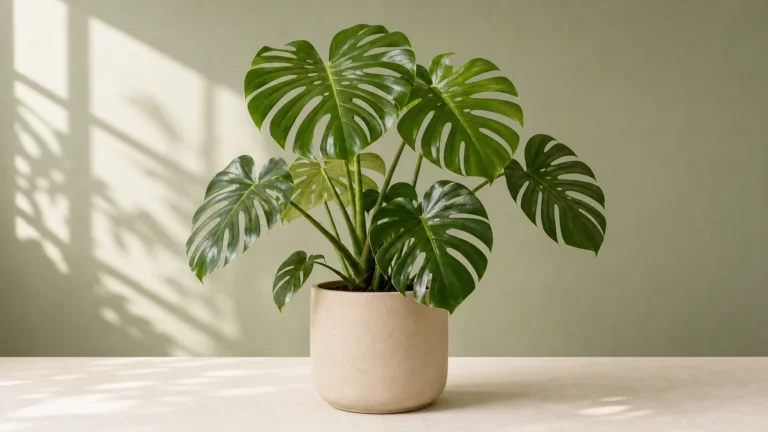
Moving a plant from soil into LECA, pon, or another semi-hydroponic system is not an ordinary pot upgrade. Existing soil roots may not function the same way after the change. The transition also requires control of reservoir level, mineral nutrition, flushing, and water quality.
Do not combine a healthy plant's routine repot with a semi-hydro experiment simply because both involve removing the pot. Research the selected system and prepare for a root-transition period. If the current soil system works, remaining in soil is a valid lower-risk decision.
Aftercare During the First Month
Return the plant to stable bright indirect light rather than exposing freshly disturbed roots to harsh sun. The Houseplant Sunlight Check can help verify the position. Keep temperature and airflow steady, and avoid moving the pot repeatedly.
Do not water again simply because a week has passed. Check the new mix at root depth and learn its dry-down pattern. A larger pot or denser blend may remain moist longer than the previous setup.
Hold fertilizer until the plant is stable and actively growing. Fresh commercial mix may already contain nutrients, while damaged roots do not benefit from a strong dose. Minor temporary drooping can follow disturbance, but a soft stem base, persistent wetness, foul odor, or rapidly spreading yellowing deserves a root-zone check.
Fit the Mature Plant to the Space
Thai Constellation is a variegated form of Monstera deliciosa, a climbing species that needs sturdy support as it grows. The NC State plant profile describes the species as a rapid-growing climbing vine and recommends support to prevent stem damage.
Large new leaves are a reason to review the support and room, not automatic evidence for a larger pot. The fast-growing houseplants collection can help compare how growth rate and mature size affect long-term placement.
Thai Constellation Monstera Repotting Checklist
Confirm root congestion or failing mix, choose a pot only slightly larger, use functional drainage, and prepare an airy but moisture-balanced substrate. Keep the stem at the same depth, support the plant, and simplify aftercare while roots settle.
Careful Thai Constellation Monstera repotting is deliberately uneventful. The best result is not an oversized decorative container. It is a stable root system, predictable drying, and enough support for the next leaves to develop without another avoidable stress event.