Pots Without Drainage Holes: How to Grow Houseplants in Them Safely
Not sure when or how to fertilize your houseplants? Learn the seasonal schedule, how to choose the right fertilizer, and how to avoid the #1 mistake: using too much.
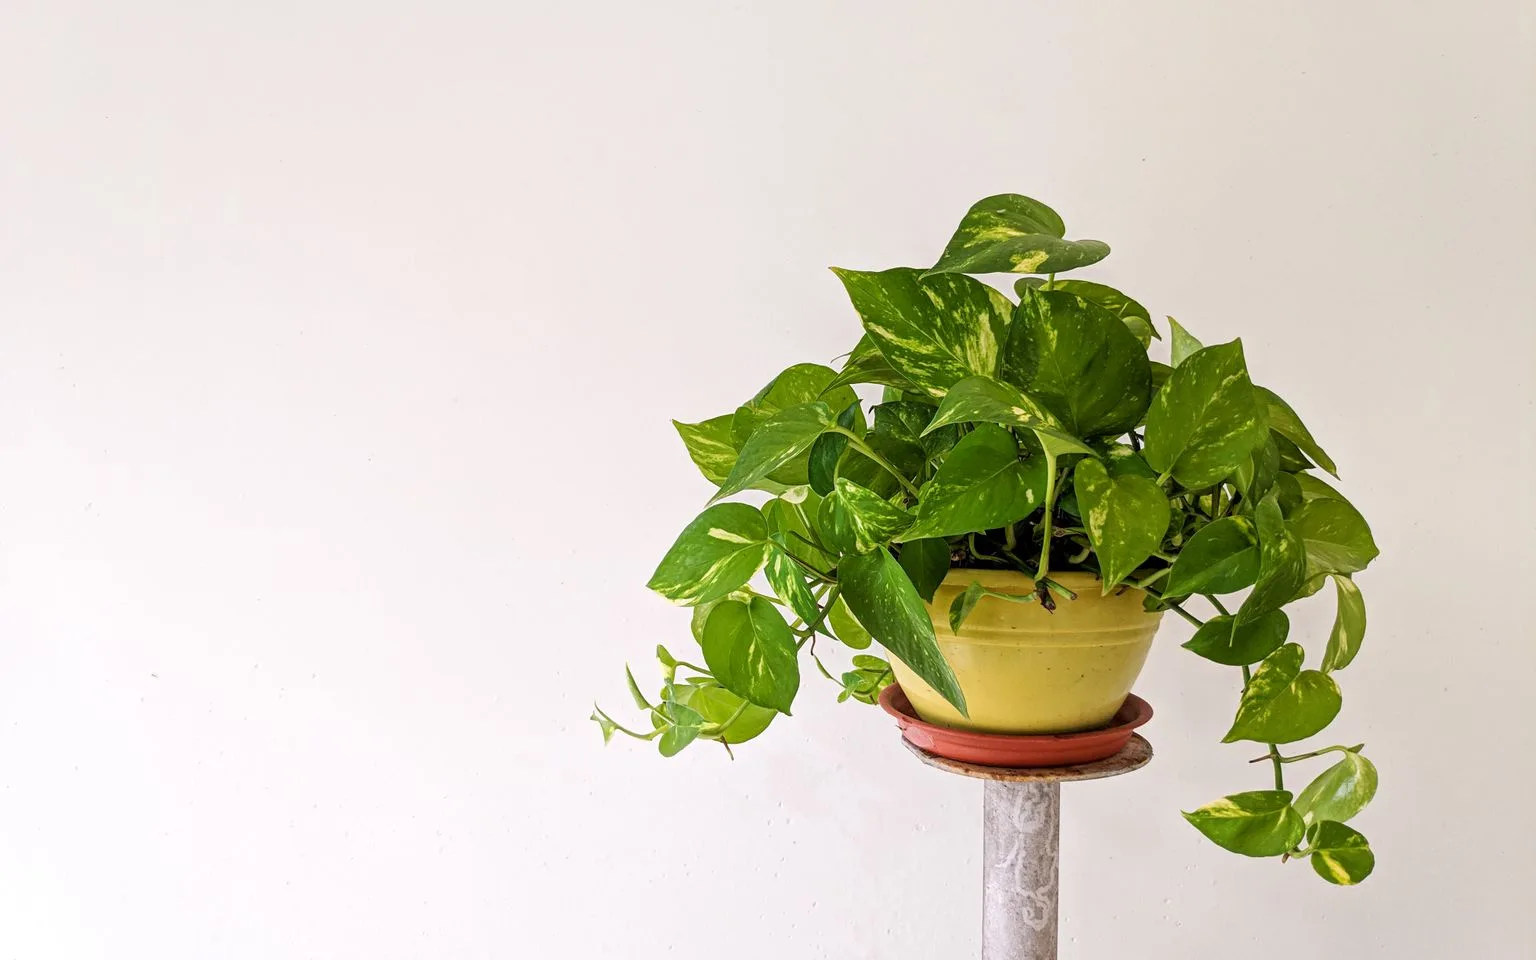
The prettiest pots often have no drainage hole — ceramic planters, vintage tins, glass vessels, concrete cylinders, everything on the home-decor shelf. Gardeners are told never to use them, and the warning is half right. A pot with no drainage hole is not a death sentence for a plant; it is a system with one safety feature removed, which means the gardener has to supply the discipline the hole used to provide.
That discipline is learnable. This guide covers what a drainage hole actually does, the three legitimate ways to grow in no-hole pots, the gravel-layer myth that refuses to die, and which plants make the whole exercise easy versus which ones make it impossible.
What a Drainage Hole Actually Does
Two jobs, and the second one is underrated:
- It lets excess water escape. Every watering flushes a little past what the soil holds. In a drained pot, that water leaves. In a sealed pot, it pools at the bottom, and the soil above it stays wetter for longer.
- It lets accumulated salts leave. Tap water and fertilizer leave dissolved salts behind every time water evaporates. Drained pots flush them out the bottom on a schedule; sealed pots keep every crystal. That is why old closed pots develop a white crust on the soil surface — the same salt buildup responsible for the damage covered in our brown tips guide.
The other thing drainage holes provide is oxygen. Roots drown not because water itself is toxic but because a waterlogged mix has no air pockets, and suffocating roots quickly fall to the fungi that cause root rot — the single most common way plants in sealed pots die, as Extension guidance on overwatering indoor plants makes explicit.
Method 1: The Cache Pot (Best for Almost Everyone)
A cache pot solves the problem by refusing to fight it. You keep the plant in its ordinary plastic nursery pot — full of drainage holes — and set that pot inside the decorative no-hole vessel. Water thoroughly in the sink, let it drain completely, return it to the cache. Every drainage benefit is preserved, and you get the look you wanted.
- Watering routine: remove, water, drain, return. Thirty extra seconds.
- Check after watering: never leave standing water in the bottom of the cache pot for more than a few minutes. Empty it — sitting water means you overwatered, and it will re-wick into the root zone overnight.
- Add a spacer: a layer of gravel, leca pebbles, or even two corks in the bottom of the cache keeps the nursery pot above any accidental residue and improves airflow under the pot.
The cache-pot approach works for every plant, requires zero skill changes, and is how display greenery in hotels and offices is actually kept alive. If you take one method from this article, take this one.
Method 2: Measured Watering (For the Disciplined)
Growing directly in a sealed pot is possible when you replace the hole’s function with precision: water exactly what the plant uses, no surplus. The technique:
- Know the reservoir volume. Before planting, pour a measured amount of water into the empty pot with the soil in place and note how much it takes before water visibly pools — that number is your ceiling.
- Water a fraction of the ceiling. Give roughly one-quarter to one-third of that volume at a time — enough to moisten the root zone, well short of the bottom.
- Water by weight and leaf signals, never on schedule. Lift the pot when dry and remember the weight; water when it approaches it, or when the plant shows early thirst. The soil-check-first approach is the foundation here — in a sealed pot it stops being a good habit and becomes the entire safety system.
- Flush occasionally in the sink. Every two to three months, take the pot outside or to the shower and water heavily once, tipping out what pools, to push accumulated salts down and out of the root zone — partially substituting for the hole’s salt-flushing job.
This method suits patient growers, glass vessels you cannot drill, and plants that forgive a little variance. It is unforgiving with thirsty, fast-draining mixes that dry unevenly.
Method 3: The Gravel Layer — What It Does and Doesn’t Do
The classic advice is “put gravel in the bottom so water drains away from the roots.” The honest version: a gravel layer does not do what people think.
The physics is called a perched water table. Water hangs in the fine potting mix above the coarse gravel layer until the mix is saturated — it will not cross into the coarser material below until it is heavy with water. The result is a wet layer sitting directly on top of the gravel, exactly where the deepest roots are. The gravel layer raises the wet zone higher in the pot rather than lowering it; the wettest soil is now further from the drainage you do not have, and the effective root space shrinks.
What a gravel layer is genuinely good for in a sealed pot: creating a small sump for accidental overwatering, reducing the volume of soil in a too-large vessel, and giving the roots somewhere to sit above a small accident. Used for those purposes — with watering discipline intact — it is a tool. Used as a substitute for drainage, it is a myth that makes things worse, and it is worth reading the soil structure fundamentals to understand why fine and coarse materials hold water so differently.
Choosing Plants for No-Hole Pots
The whole exercise gets easier or harder depending on the plant. Sealed pots amplify whatever watering tendencies the species already has.
Good candidates (tolerate consistent moisture):
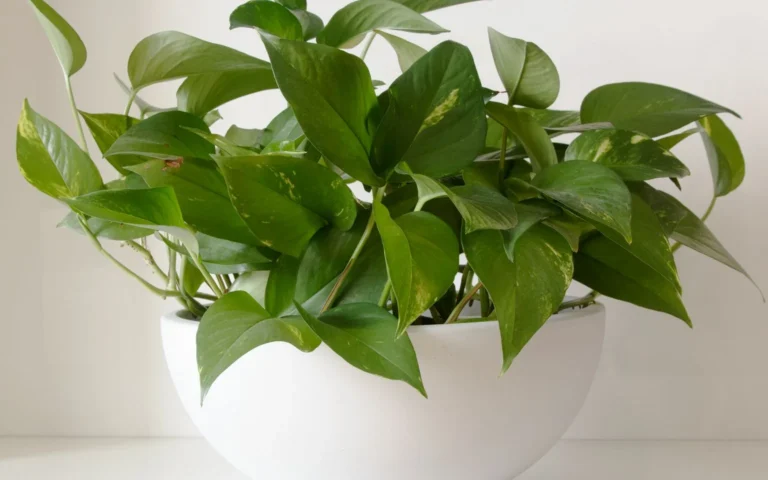
- Pothos and heartleaf philodendron — resilient roots, forgiving of imperfect moisture
- Peace lily — visibly droops when thirsty, so it signals before damage; tolerates wet feet better than most
- Spider plant — adaptable, and its drought tolerance covers occasional under-watering misses
- Lucky bamboo — genuinely happy in standing water; the easiest no-hole plant of all
- Ferns in humid rooms — constant light moisture approximates their native conditions
Poor candidates (a sealed pot is near-certain failure):
- Succulents and cacti — the wet zone at the bottom is exactly the rot scenario their roots cannot survive; these belong in fast-draining mixes in drained pots
- Snake plants and ZZ plants — drought-adapted roots rot readily in sealed containers; if you must use a closed ceramic, use the cache-pot method only
- Anything recently potted in dense, water-retentive soil — swap to an airy mix first
If your favorite plant is on the poor-candidate list, that is the cache pot talking to you. If you are unsure whether your plant has already been overwatered, the symptom comparison in our overwatered vs. underwatered guide tells you which way the damage runs before you change anything.
Warning Signs You Are Overwatering a Sealed Pot
Watch for these four signals — each one means the system is failing and the plant needs intervention:
- Standing water visible more than an hour after watering. The ceiling has been exceeded. Tip it out and skip the next watering cycle entirely.
- White or yellow crust on the soil surface. Salts are accumulating faster than occasional flushes remove them. Repot into fresh mix — our repotting guide walks through replacing old soil completely rather than top-dressing.
- Sour or musty smell from the pot. Anaerobic soil — the airless stage before root rot. Unpot immediately, inspect roots, trim anything soft and brown.
- Fungus gnats. Small black flies breeding in constantly moist soil are the earliest visible warning; they appear before the plant shows distress. Their lifecycle and controls are covered in our common houseplant pests guide.
When to Just Drill the Hole
If a pot is ceramic, stoneware, or thick plastic and you love it, drilling a drainage hole is often the best move. A diamond-tipped hole saw bit (10 to 12 mm) in a standard drill, with water trickling on the spot, goes through glazed ceramic in a few minutes. Work from the outside in, go slow, and put tape over the glaze to stop the bit wandering. One small hole converts a problem pot into a forever pot — far less effort than years of careful measured watering.
Frequently Asked Questions
Can a plant survive long-term in a pot with no drainage hole?
Yes, with the cache-pot method or genuinely disciplined measured watering. Houseplants in offices and commercial displays live for years in sealed decorative vessels — almost always as nursery pots hidden inside cache pots.
How much should I water a pot without drainage?
A quarter to a third of the volume the soil can hold before pooling at the bottom — established by testing once with measured water. The mistake to avoid is watering “until it comes out the bottom,” which in a sealed pot means water is pooling around the roots.
Do I need activated charcoal in a no-drainage pot?
A thin layer of horticultural charcoal at the bottom helps slow the souring of sealed-pot soil by absorbing some of the compounds that cause odor, but it is a supplement, not a fix. It does not substitute for drainage, and it does not prevent root rot.
Is a drainage hole really necessary for succulents?
Yes, effectively. Succulent roots rot in the perched wet layer that forms at the bottom of sealed pots, and no amount of gravel or charcoal changes that. Grow succulents in a drained pot, and hide that pot inside your decorative vessel.
Use the Pot You Love — With the Right System
A no-hole pot is a commitment, not a mistake. Match the method to your habits: cache-pot if you want the plant’s care to stay ordinary, measured watering if you enjoy precision, drill the hole if you want the problem gone permanently. And match the plant to the vessel — a peace lily in a sealed ceramic is an easy win; a echeveria in the same pot is a scheduled funeral.
Find plants that fit how you actually water — precise, occasional, or somewhere in between — with the House Plant Finder quiz.