Philodendron Billietiae Care After Shipping or Purchase
Give a newly purchased Philodendron billietiae a stable start with practical guidance on quarantine, light, watering, repotting, support, and shipping stress.
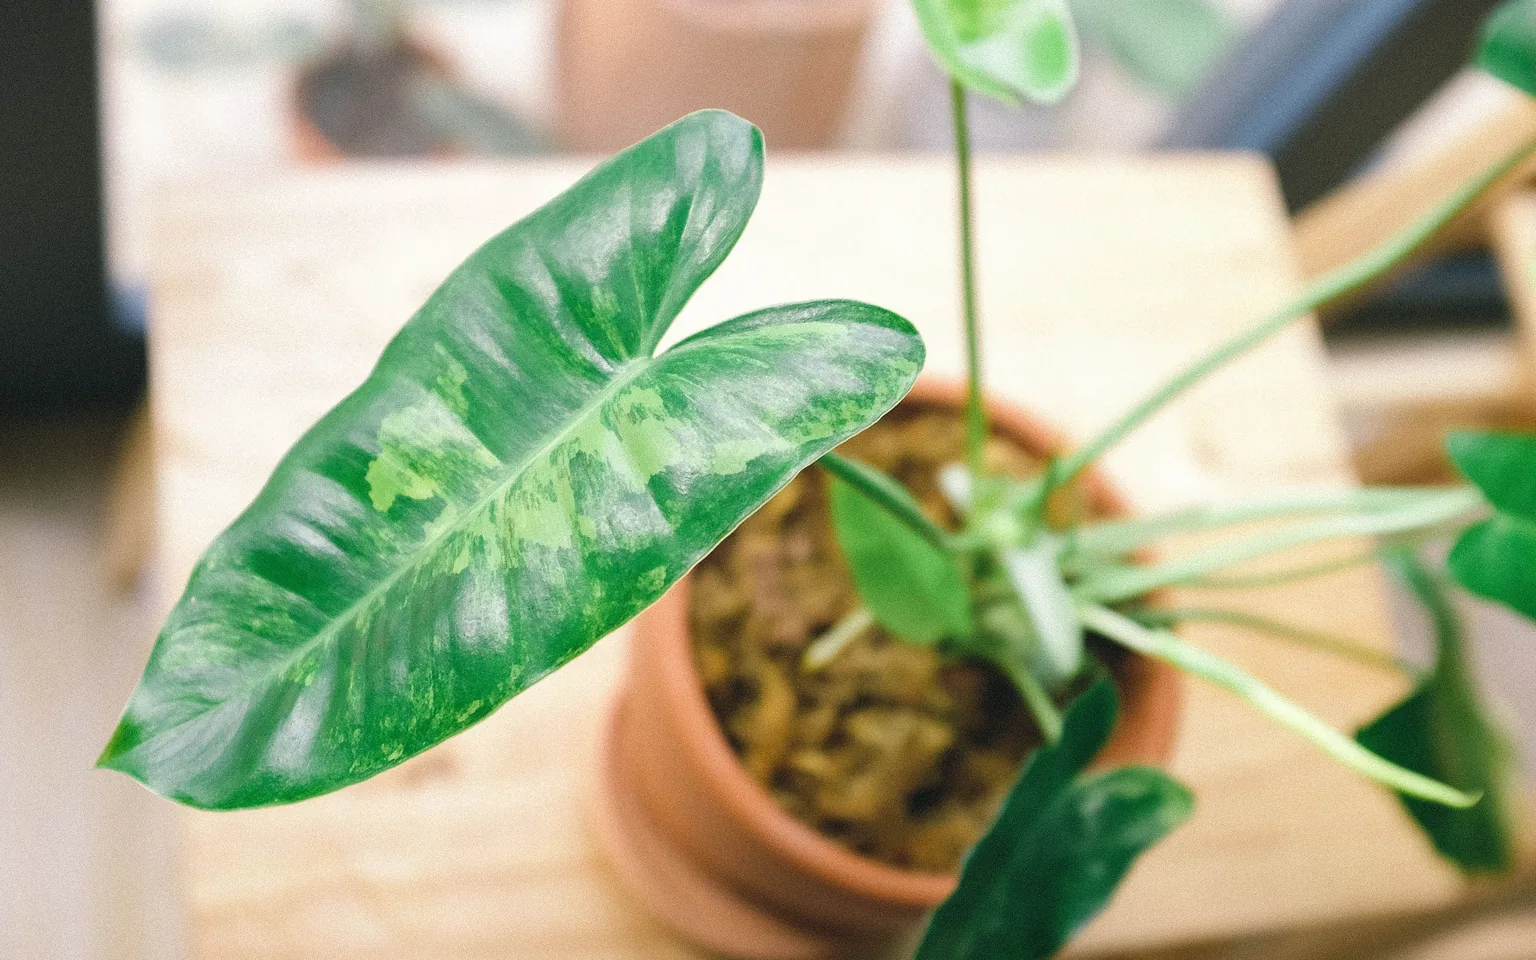
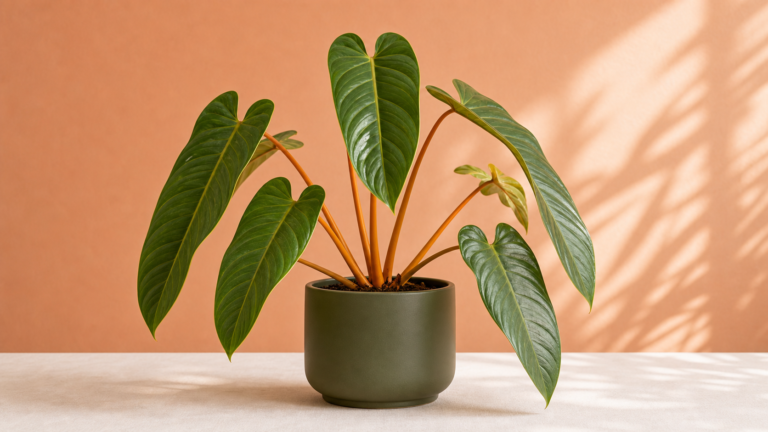
Philodendron billietiae care begins with stability, especially after the plant has been shipped or carried home from a nursery. Its long, narrow leaves and orange-toned petioles make it immediately distinctive, but a new arrival does not need an immediate repot, fertilizer treatment, pole upgrade, and brighter position all at once. It needs a careful inspection and a predictable environment.
A recent r/philodendron post celebrating a newly arrived plant reflects the excitement around this species. That excitement can encourage too much intervention during the first day. The better approach is to gather evidence before changing the root zone or care routine.
Identify the Plant and Its Growth Habit
Philodendron billietiae is a tropical aroid in the family Araceae. The original species description records it from tropical rainforest in Guyana, French Guiana, and Brazil and highlights its elongated leaf blades and pale orange petioles. The Missouri Botanical Garden publication describing the species is useful botanical context, but home care should still respond to the conditions of the individual plant you received.
This Philodendron develops a substantial climbing stem and large leaves when mature. Plan for vertical support and enough horizontal room for the leaf blades. A small plant can fit on a shelf temporarily, but its mature form is better suited to a floor position, plant stand, or greenhouse cabinet with adequate clearance.
Inspect and Quarantine on Arrival
Before placing the plant with the rest of your collection, inspect it in bright light. Check both sides of every leaf, the petiole bases, stem, cataphylls, soil surface, pot rim, and drainage holes. Look for scale, mealybugs, thrips damage, webbing, sticky residue, or moving insects.
Keep a new plant separate for at least two to three weeks when space allows. Quarantine is particularly important after shipping because darkness, crowding, and temperature swings can hide early symptoms. Do not apply a pesticide just because the plant is new. Identify a pest or a credible sign first, then choose a treatment labeled for that pest and indoor use.
Some cosmetic damage is expected. Bent petioles, edge browning, a torn leaf, or one yellowing older leaf can result from packing and transport. Mark suspicious spots or photograph them so you can tell whether they are expanding. Active change matters more than a static scar.
Give It Bright Indirect Light
Place the plant in bright indirect light while it acclimates. The North Carolina Extension Gardener Plant Toolbox notes that Philodendron generally prefer bright indirect light, warm temperatures, and moist but well-drained soil, while strong direct sun can scorch leaves. Its Philodendron profile also emphasizes that requirements vary by species.
Avoid moving a recently shipped plant directly into harsh midday sun. If it came from a shaded box or retail bench, increase light gradually over one to two weeks. Gentle morning sun may be manageable after acclimation, but monitor the leaf surface for bleaching or crisp patches.
Use the Houseplant Sunlight Check to evaluate the intended position. Rotate the pot occasionally only if the light comes strongly from one direction; constant repositioning makes it harder for the plant to orient its leaves.
Water From the Potting Mix, Not the Calendar
Check the mix before watering. Insert a finger or wooden skewer several inches into the pot and lift the container to judge its weight. Water thoroughly when the upper portion has dried but the root ball has not remained dry for an extended period. Let excess water drain completely.
Do not assume that a dry-looking surface means the whole root ball is dry. Nursery mixes can be dense and moisture-retentive, while chunky aroid mixes may look dry at the top soon after watering. Shipping plugs can also hold water differently from the surrounding substrate.
The current pot, mix, root mass, temperature, light, and airflow determine the interval. The Houseplant Watering Calculator can provide a starting estimate, but the final decision should come from the root zone. Overwatering is especially risky when shipping stress has reduced growth and water use.
Wait Before Repotting Unless There Is a Clear Problem
Leave the plant in its nursery pot for the first one to two weeks if the mix drains, the roots are healthy, and the pot is not severely undersized. This separates shipping stress from repotting stress and lets you learn how quickly the existing mix dries.
Repot sooner when there is a specific reason:
- the pot has no drainage;
- the mix stays saturated for an unusually long time;
- roots are black, soft, or foul-smelling;
- the root ball is so tight that water cannot penetrate; or
- the plant is physically unstable and repeatedly tips over.
When repotting, choose a container only 1 to 2 inches (2.5 to 5 cm) wider than the root ball. Use a loose mix that holds some moisture but allows air through the root zone. A practical aroid mix may combine potting mix or coco coir with orchid bark and coarse perlite or pumice. Adjust the proportions to your climate and watering habits rather than following a rigid recipe.
Do not remove healthy roots or wash away all old mix without cause. Trim only dead, hollow, or mushy roots with clean tools. After repotting, return the plant to the same stable light and temperature instead of adding another environmental change.
Add Support Without Restricting the Petioles
Support the main stem, not the leaf stalks. Petioles need room to move and orient each leaf toward light. Tying them tightly to a pole can cause damage and an unnatural shape.
Install a sturdy plank, pole, or trellis close to the back of the stem. Secure the stem loosely with soft ties at several points, leaving the newest growth and cataphyll free. If you want aerial roots to enter a moss pole, the pole must remain appropriately moist; a dry decorative pole will provide physical support but little rooting benefit.
Add support while the plant is still manageable. Waiting until the stem is long and leaning makes correction harder and increases the chance of snapping a petiole or disturbing the root ball.
Keep Temperature and Humidity Stable
Aim for a warm room around 65 to 85°F (18 to 29°C), away from cold drafts, exterior doors, heating vents, and direct air-conditioning. Average home humidity can work, but a consistent 50 to 70 percent range generally supports better leaf expansion than very dry air.
Humidity is not a substitute for healthy roots or adequate light. A humidifier can help in a dry room, but it should be cleaned regularly and positioned so water does not condense on leaves, walls, or electrical equipment. Good air movement is useful, but avoid a fan blowing directly on the plant all day.
Hold Fertilizer During the Acclimation Period
Do not fertilize immediately after shipping. Wait until the plant is stable and producing or extending healthy growth. Fertilizer cannot repair mechanical damage or root loss, and adding salts to a stressed root zone may make the problem worse.
During active growth, use a balanced houseplant fertilizer at a conservative rate, following the product label. Reduce or pause feeding when light and growth slow. Flush the pot thoroughly with plain water periodically if mineral residue builds on the soil or pot edge.
Read New Growth Before Changing the Routine
The first new leaf after shipping may be smaller or imperfect. That single leaf reflects conditions during development, including the period before you owned the plant. Judge the routine across several weeks and, ideally, more than one new leaf.
Healthy acclimation signs include firm petioles, stable leaf color, roots visible at drainage holes without rot, and new growth that continues rather than aborts. Warning signs include a rapidly yellowing stem section, spreading water-soaked patches, persistent wilting in moist soil, or repeated loss of new leaves.
If the plant declines, change one variable at a time. Confirm root moisture before watering, check for pests again, and reassess light and temperature. Avoid repeated repotting. For broader comparison with vigorous indoor species, the fast-growing houseplants collection shows how mature size and growth rate affect long-term placement.
A First-Two-Weeks Philodendron Billietiae Care Plan
On day one, photograph and inspect the plant, isolate it, and place it in warm bright indirect light. Check the root-zone moisture without automatically watering. During the first week, keep conditions stable and watch whether existing damage spreads. Water only when the mix reaches an appropriate dry-down point.
During the second week, decide whether the nursery pot and mix are functioning. Add support if the stem needs it, but postpone repotting unless there is a clear root-zone or stability problem. Continue quarantine and inspect new growth closely.
Good Philodendron billietiae care is mostly disciplined observation. A stable start gives the plant time to recover from transport and gives you time to understand its current root system, substrate, and light response. Once it is actively growing, you can refine the mix, support, feeding, and placement without stacking every change into the same stressful week.